Complete Guide to Septic Tank Inspections
The Complete Guide to Septic Tank Inspections
Regular septic tank inspections are a critical part of system maintenance that many homeowners overlook. Whether you are scheduling a routine check, buying or selling a home, or troubleshooting a problem, understanding what happens during a septic inspection helps you make informed decisions and protect your investment. This guide covers everything you need to know about septic tank inspections.
Why Inspections Matter
A septic inspection serves several important purposes:
- Prevents costly repairs by identifying problems early
- Extends system lifespan through proactive maintenance
- Protects your health by ensuring waste is properly treated
- Safeguards the environment by preventing groundwater contamination
- Maintains property value by documenting system condition
- Satisfies legal requirements in many jurisdictions for property transfers
The EPA recommends having your septic system inspected at least every three years by a qualified professional. Some states and local health departments require more frequent inspections.
Types of Septic Inspections
Visual Inspection
A visual inspection is the most basic type, sometimes performed during a real estate transaction. It includes:
- Flushing toilets and running water to verify flow
- Checking for signs of backup or slow drainage
- Looking for evidence of previous system problems
- Checking the age and general condition visible from the surface
- Noting the location of system components
Visual inspections are limited because they do not assess the internal condition of the tank or the drain field performance. Many experts consider them inadequate for real estate transactions.
Full Inspection
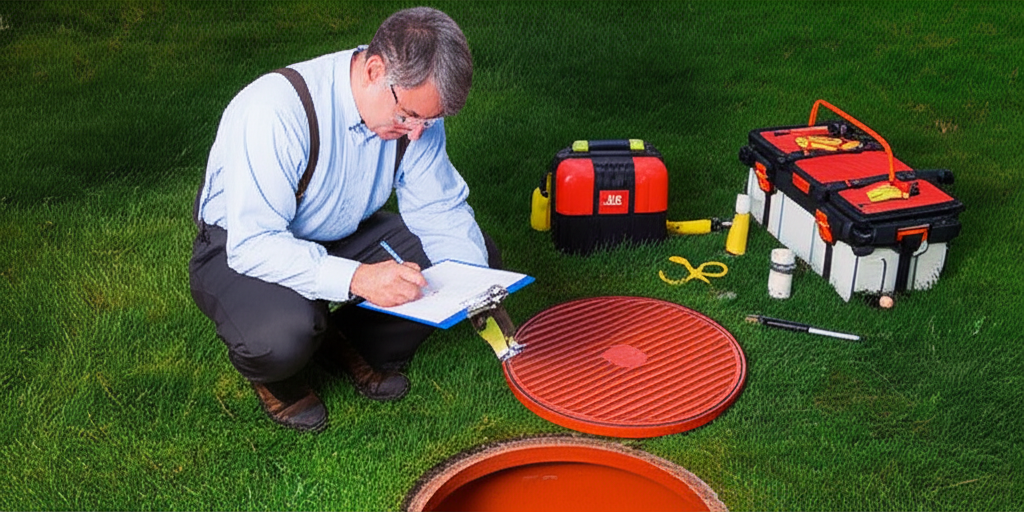
A comprehensive inspection involves accessing the tank and evaluating all components:
Tank Assessment:
- Opening the tank access lid
- Measuring scum and sludge layers
- Checking liquid level (which indicates drain field function)
- Inspecting inlet and outlet baffles
- Looking for cracks, deterioration, or damage
- Checking the tank for signs of leakage
Distribution System:
- Inspecting the distribution box (D-box)
- Checking for equal flow distribution
- Looking for standing water or blockages
- Verifying pipe connections and integrity
Drain Field Evaluation:
- Walking the field to check for surface water or odors
- Noting vegetation patterns that might indicate problems
- Checking soil conditions and drainage
- Looking for signs of surfacing effluent
Mechanical Components (if applicable):
- Testing pumps, floats, and alarms
- Checking electrical connections
- Verifying timer and dosing settings
- Testing backup alarms and controls
Dye Test
A dye test involves flushing a non-toxic dye into the system and checking for it in the drain field area or nearby surface water. This can reveal:
- Whether wastewater is reaching the drain field
- If effluent is surfacing before being properly treated
- Potential connections to storm drains or surface water
Camera Inspection
Using a specialized waterproof camera inserted into pipes, a technician can:
- Identify cracks, root intrusion, or damage in pipes
- Locate blockages and their exact position
- Assess pipe condition without excavation
- Document the condition for records or negotiations
What Inspectors Look For
Professional inspectors evaluate several critical aspects:
Tank Condition
- Structural integrity of walls, floor, and lid
- Baffle condition and proper function
- Signs of tank settling or shifting
- Corrosion or deterioration
- Proper sealing at joints and connections
Sludge and Scum Levels
- The sludge level should be no more than 1/3 of the tank's liquid depth
- The scum layer should not extend to the outlet baffle
- Excessive accumulation indicates the tank needs pumping
- Uneven layers may suggest bacterial problems
Liquid Level
- Normal level indicates proper drain field absorption
- High level suggests drain field problems or outlet blockage
- Low level may indicate a leak in the tank
- Level changes after water use reveal system performance
Drain Field Performance
- Even distribution of effluent across the field
- Proper soil absorption without surfacing
- No evidence of hydraulic overload
- Healthy vegetation without excessive growth
Inspection Costs
Septic inspection costs vary by type and location:
- Visual inspection: $100-$200
- Full inspection: $300-$600
- Full inspection with pumping: $500-$900
- Camera inspection (add-on): $200-$400
- Dye test (add-on): $50-$200
These costs are minimal compared to the potential expense of undetected problems. A $500 inspection can prevent a $15,000 system failure.
Inspections for Real Estate Transactions
When buying or selling a home with a septic system, inspections take on added importance:
For Buyers:
- Always insist on a full inspection (not just visual)
- Request pumping as part of the inspection
- Ask for maintenance records
- Get a written report with findings and recommendations
- Factor any needed repairs into your offer
- Understand any warranties or lack thereof
For Sellers:
- Get a pre-listing inspection to avoid surprises
- Have the tank pumped and the system in good condition
- Gather all maintenance records
- Address any identified problems before listing
- Disclose any known issues as required by law
Lender Requirements:
- Many mortgage lenders require a septic inspection
- FHA and VA loans have specific septic requirements
- The inspection report may need to be submitted with loan documents
- Failed inspections can delay or prevent closing
How to Prepare for an Inspection
Before your inspector arrives:
- 1. Locate your septic tank and drain field (check property records if unsure)
- 2. Clear access to the tank lid — remove soil, plants, or coverings
- 3. Gather maintenance records including pumping dates and repairs
- 4. Note any concerns or problems you have observed
- 5. Ensure access to the home for interior plumbing checks
- 6. Keep the area clear of vehicles, equipment, and debris
Reading Your Inspection Report
A thorough inspection report should include:
- System description: Type, size, age, and components
- Condition assessment: Current state of all components
- Measurements: Sludge and scum levels, liquid levels
- Findings: Any problems, deficiencies, or concerns
- Recommendations: Immediate repairs, future maintenance, monitoring
- Photos: Documentation of key findings
Choosing an Inspector
Select a qualified inspector by:
- Verifying state licensing or certification
- Checking experience with your type of system
- Reading reviews and asking for references
- Confirming they carry liability insurance
- Asking about their inspection methodology
- Getting a clear description of what is included
Conclusion
Regular septic inspections are an investment in your system's longevity and your family's health. Whether for routine maintenance or a property transaction, a thorough inspection provides valuable information about your system's condition and helps you plan for future maintenance needs. Use our directory to find qualified septic inspectors in your area.
---
Find a Septic Professional Near You
Looking for a trusted septic service provider? Browse our directory of 1111 companies across 80 cities, with real customer reviews and pricing data. Use our Cost Calculator to see average prices in your area.